
The reverse is often the only index left
The reverse of a family print is often the only place names and dates survive. When you digitise an old photo album on your phone, scan the front and the back, then keep the handwriting in notes you can search later.
Many people photograph only the image side. That habit throws away genealogy metadata: a pencilled name, a year, a place, a studio stamp, or an album index number. Once the relative who wrote it is gone, the reverse is frequently the last index you have.
This guide covers why the reverse matters, how to phone-scan album fronts and backs, how to capture handwriting into notes, how people and a GEDCOM fit lightly, and a checklist of common mistakes. It is written for family historians who want a calm method, not a dramatic before-and-after.
Why the reverse matters
Inherited collections were often labelled once, by one person, years ago. That person wrote on the back because they knew they would forget. The writing is rarely elegant. It is usually pencil, abbreviated, and easy to overlook when you are trying to get a clean shot of a face.
Yet that scrap of handwriting is frequently the only surviving identification. A portrait without a name is still a photograph. A portrait with "Mae and Tom, Christmas 1954, Columbus" becomes evidence you can attach to a tree, share with a cousin, and keep when memory fades.
The reverse also holds quieter clues: photographer stamps, lab codes, and album page numbers. Those details help you sequence prints, date a studio session, and notice when two copies of the same sitting carry different captions. Family history work already knows this from institutional archives. Private shoeboxes work the same way. The identifying information often lives on the back, not in the emulsion.
If you only scan fronts, you digitise likeness and discard context. For genealogy, that is the expensive mistake.
How to phone-scan album fronts and backs
You do not need a flatbed to begin. A phone is enough for most family albums if you treat capture as archival work rather than a quick camera-roll snap. The goal is a readable front and a readable reverse, kept together.
Start with a small batch. One album page, or a handful of loose prints, beats an afternoon of rushed captures. Work on a dark, matte surface so edges are easy to see. Use indirect light. A window on a cloudy day is usually kinder than an overhead bulb, especially on glossy paper.
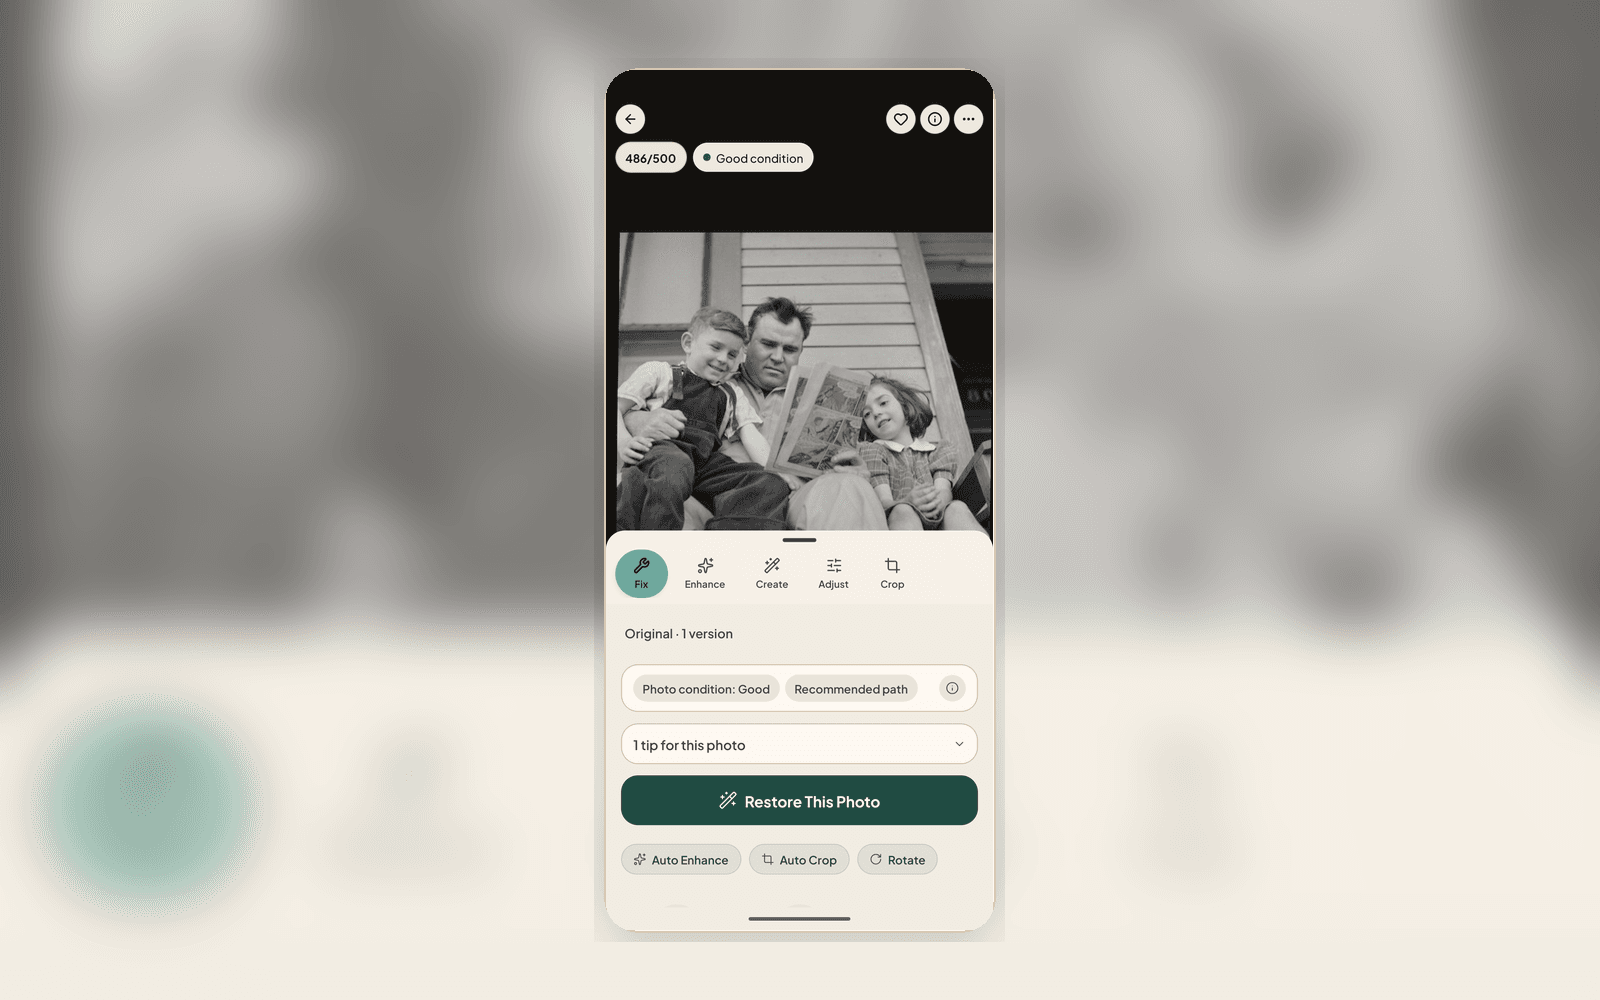
Open Scan in the Nostalgia app. Line the print up in the guide frame and hold steady until the capture lands cleanly. For glossy album pages, watch for glare. Tilt slightly, move the lamp, or let the scanner's multi-shot help when reflections sit in different places across frames. If a page holds several prints, capture the page and split the photos afterwards rather than fighting each window of the sleeve one by one.
Then flip the print. Capture the reverse while the front is still in your hand. Do not save backs for a later session. In the mobile scanner, Nostalgia can remind you to capture the back of the photo, and a Photo Back can stay attached to that front as provenance. That pairing is the point of the habit: the handwriting travels with the face.
A few capture habits make the reverse worth keeping:
- Include the margins. Studio stamps and index numbers often sit in a corner
- Angle a desk lamp across faint pencil at about forty-five degrees so graphite catches the light
- Scan the full card even when most of the reverse looks blank. An empty centre with one corner note still matters
- Leave stuck or fragile album pages in place. Photograph through the protector rather than forcing a print free
Flatbeds, imports, and when pairing stays manual
If you later move to a flatbed at 600 DPI for treasures, keep the same rule: front and back. Whole-bed imports on the web are excellent for loose stacks, but treat pairing carefully there. Matching filenames and reviewing crops still matter when you are not capturing a Photo Back against a known front in the phone flow.
For the broader scanning craft, glare, skew, and album-page splits, the existing phone-scanning guide is the companion piece. This article stays with the genealogy habit the craft supports: never leave the reverse behind.
Capture handwriting and transcription into notes
A scan of the reverse is evidence. Searchable notes are how that evidence becomes usable. After you capture a Photo Back, open the photo's Back-of-photo notes. When the writing is clear enough, Nostalgia can offer an OCR-assisted transcription: a summary, readable text, and structured suggestions such as dates, names, photographer stamps, or keywords.
Treat every transcription as a draft. Cursive, rubbed pencil, and crowded margins are hard. The product can show confidence alongside the reading so you can see when a word is a best guess. Edit what matters. You do not need to correct every letter, only the names and dates you will rely on later.
When a suggested date or name looks right, apply it deliberately into the archive fields you trust. On mobile, back-of-photo notes can offer actions such as using a transcribed date or tagging a mentioned name. Confirm rather than assume. Archive Notes (Who, When, Where, What, Story) is the durable place for context you are willing to stand behind. Back capture seeds that work. Your review finishes it.
If OCR finds little, keep the reverse image anyway. A human can still read a faint line that software skipped, and a relative may recognise a nickname the model never would. The photograph of the handwriting remains provenance even when the text field stays short.
Copy uncertain readings into notes with plain language: "Back reads Mae (?) and Tom, Christmas 1954." Honest uncertainty is better than a confident wrong name on a tree.
Link people and GEDCOM lightly
Once a print has a readable reverse, the next step is connection, not perfection. Tag the people you can recognise. Attach a place when the note or your memory supports it. Keep the Source scan preserved beside any restore you later accept.
If you already keep a family tree in genealogy software, import a GEDCOM when you are ready so photo suggestions can meet people you have already researched. Nostalgia's GEDCOM import is built for that handoff: your tree stays the research system of record, and the archive can suggest photographs for people on the tree. Handwriting on a print does not replace a sourced tree. It gives you strings worth tying carefully.
Do not wait for a perfect tree before you scan backs. Capture the reverse now, while the albums are open. Link people as you learn them. Import the GEDCOM when the pile of unnamed faces is the bottleneck, not before you have any faces at all.
For the wider genealogy workflow, from triage through private sharing, start with /for-family-historians. For damaged fronts that need careful repair after a clean capture, read /blog/restore-scratched-or-faded-family-photographs. For bringing an existing tree across, read /blog/import-a-gedcom-and-nostalgia-suggests-photos.
Checklist of common mistakes
Most lost identification is preventable. Watch for these habits when you digitise an old photo album on your phone:
- Skip the blank-looking reverse. Empty centres still hide corner stamps and faint pencil
- Scan only fronts because the session feels slow. Flipping each print adds little time and saves years of guessing
- Rely on OCR without reading the image. Transcription is assistance, not a certificate
- Force stuck album pages apart to get a better scan. Capture in place first
- Use flash on glossy backs or fronts. Reflections erase the graphite you came for
- Crop so tightly that studio stamps vanish
- Merge duplicate sittings before comparing backs. The second copy often carries the fuller caption
- Restore aggressively before you have a clean Source and a readable reverse. Capture and notes first; repair second
- Assume every import path pairs front and back automatically. In the phone Scan flow, capture the Photo Back for that print. For flatbed files and ad hoc camera-roll imports, keep matching names and attach the reverse yourself when the product has not already linked it
- Leave names only in a separate spreadsheet. Prefer notes that travel with the photo so sharing and search stay coherent
A practical next step
Pick one album page or five loose prints. Scan each front, flip, and scan each back. Open Back-of-photo notes on one print with handwriting. Correct the names and dates you care about. Tag one person. That single loop teaches the method better than any long plan.
If you want to judge a restore on a scratched or faded front after the capture is safe, try one free restore from the homepage Try it section. If you are ready to work through an album on your phone, open Scan in the Nostalgia app and keep the reverse with every print that still has something to say.
Related posts
 Guide
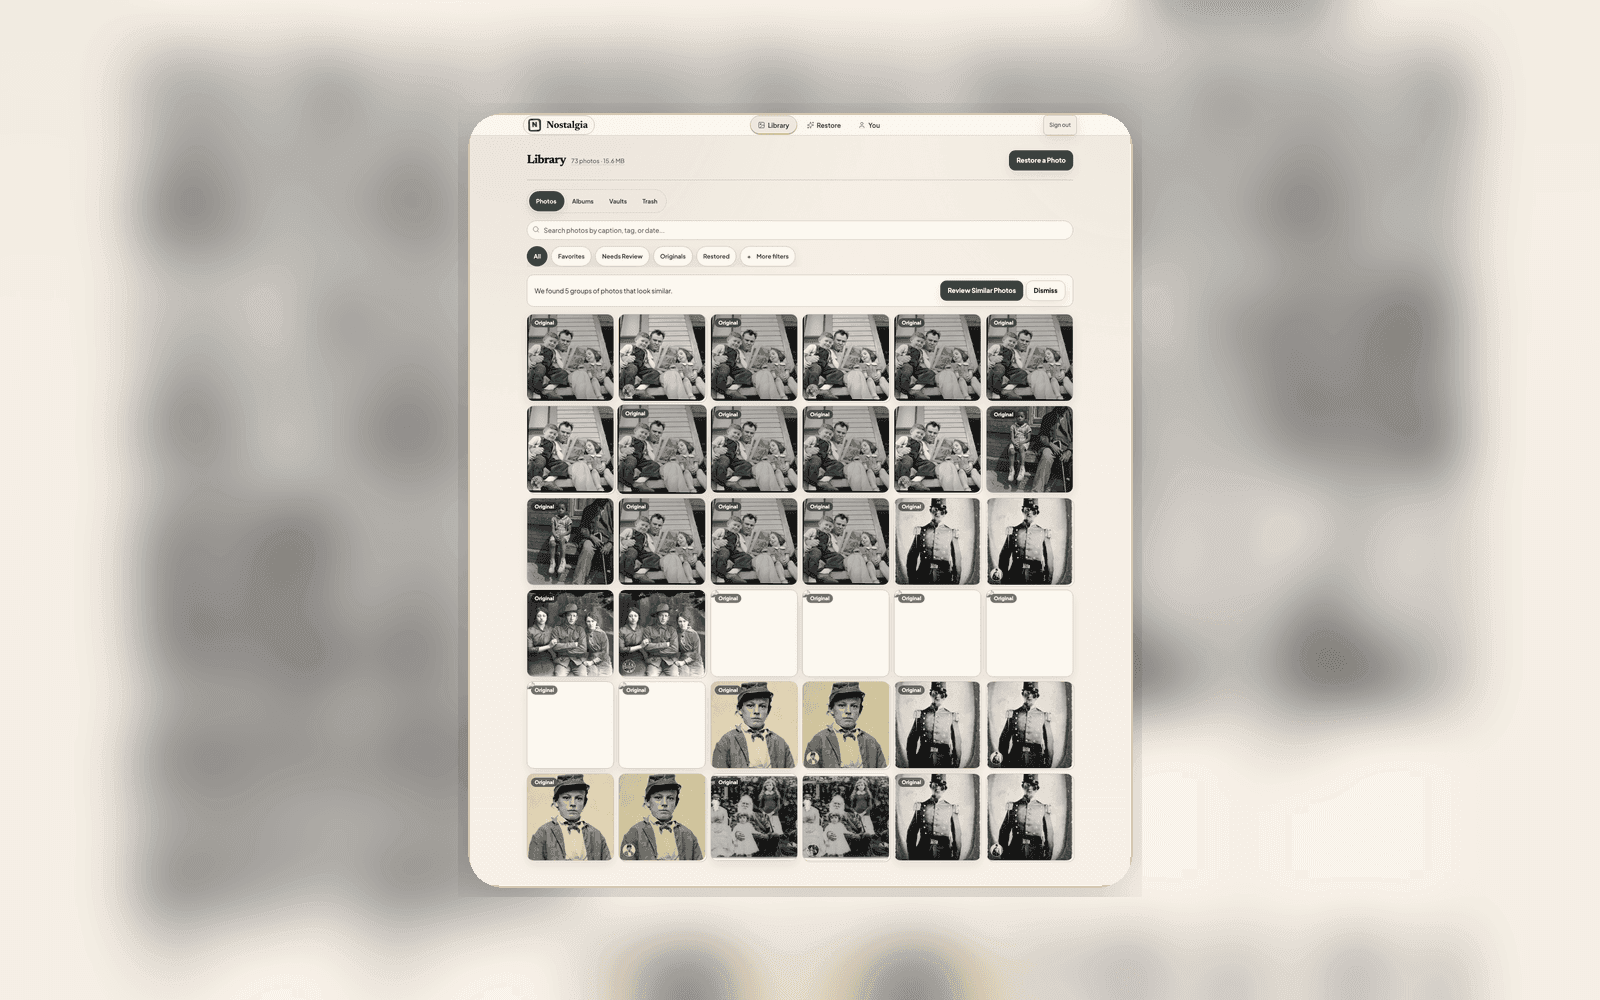
GuideHow to restore a scratched or faded family photograph without changing who they are
A practical guide for family historians on repairing scratched, faded, or damaged family photos while keeping likeness intact, Source preserved, and privacy first.
 Guide
GuideImport a Family Tree and Nostalgia Will Help Name the People in Your Photos
If you already keep a family tree in FamilyEcho, Ancestry, MyHeritage, RootsMagic, Family Tree Maker, Gramps, or FamilySearch, optional web import ranks people while you scan. You do not need a tree to start.
 Guide
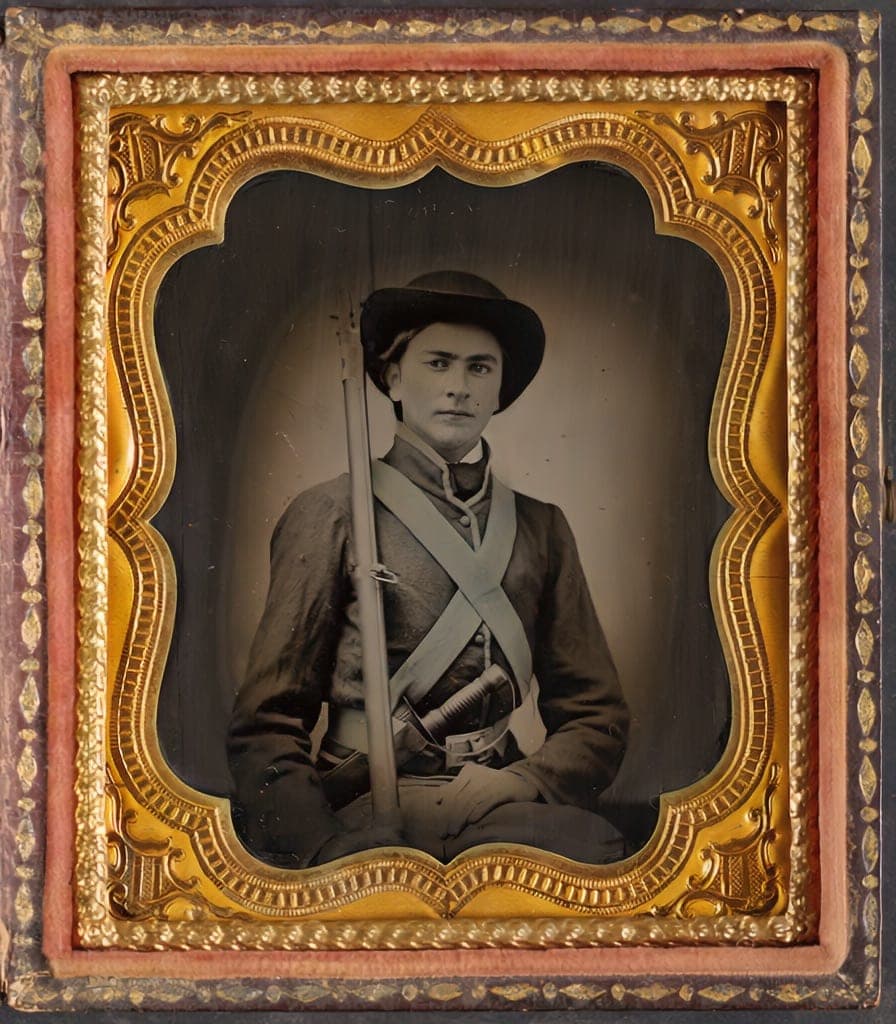
GuideThe Family Historian's Guide to AI Photo Restoration
If you're building a family archive alongside your tree on Ancestry or MyHeritage, here's how to use AI photo restoration without compromising archival integrity.
 Guide
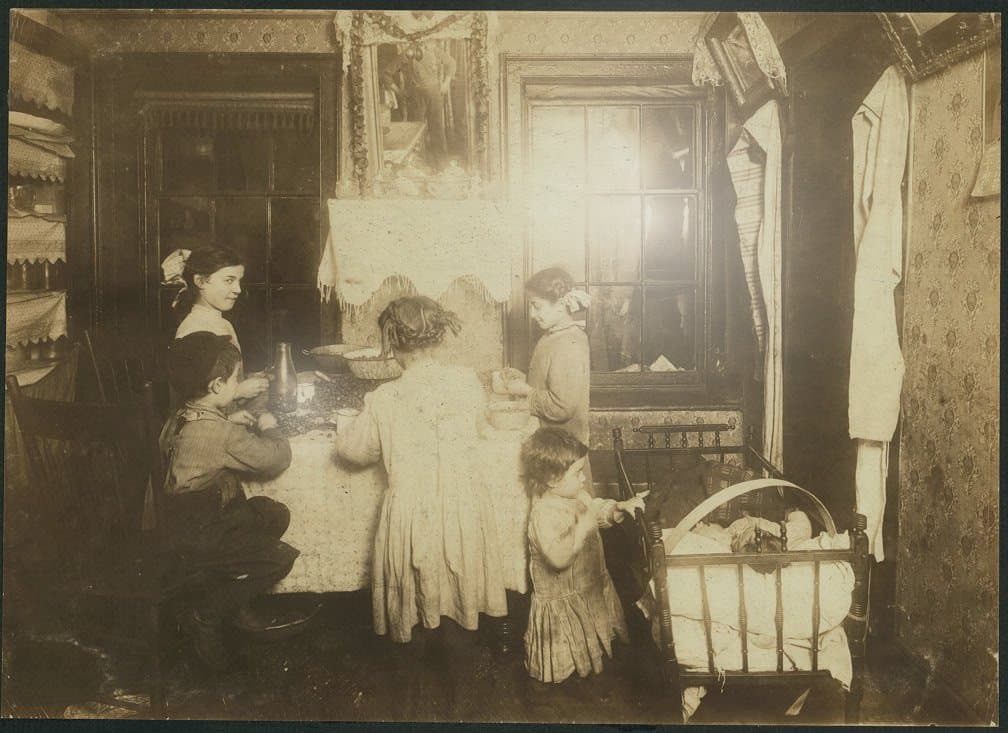
GuideScanning prints with your phone, done right
Glare, skew, blur, and album pages are what make phone scans bad. Here is how the Nostalgia scanner handles each one at capture time, the honest handling tips that still matter, and when a flatbed is the better call.