
The problem most family historians actually have
Inherited photographs rarely arrive pristine. They arrive scratched from shoeboxes, faded from decades in a sunny hallway, cracked along the emulsion, or silvered at the edges. The damage is frustrating, but it is usually not the hard part. The hard part is repairing the print without turning your great-grandmother into someone who is almost her.
General photo enhancers are built for selfies and social feeds. They often sharpen, smooth, and restyle a face until it looks newer. Family history work needs a quieter instinct: repair what age broke, leave the person alone, and keep the accepted Source preserved as a separate version beside anything you accept. If you want the shorter overview of how that fits a genealogy workflow, start with the family historians overview.
What "without changing who they are" means
Nostalgia's Likeness Pledge is simple. When we repair an ancestor portrait, we repair damage, not identity. Likeness matters more than extra sharpness, dramatic colour, or a striking before-and-after. If a result changes who the person appears to be, keep the earlier version and treat the output as something to review, not something to accept automatically.
That stance shows up in the product, not only in copy. Every accepted Source stays preserved as its own Version. A restoration sits beside it, not on top of it. You can compare, keep both, or go back. Colour is optional. Over-processing is optional. Replacing the person is never the goal.
Step 1: Name the damage before you try to fix it
Not every damaged family photo needs the same treatment. A light surface scratch across a background is different from a crease through a cheek. Mild overall fading is different from a print that has bleached white in one corner. Spend a minute looking before you upload.
- Scratches and surface marks: fine lines, scrapes, and dust tracks that interrupt tone but leave the face mostly intact
- Fading and low contrast: the whole print looks washed out, yellowed, or soft, yet the composition is still complete
- Creases, tears, and missing corners: physical damage that may cross a face or remove part of the frame
- Silvering, mould, or stuck album pages: treat these as conservation problems first; photograph in place before you force anything apart
Step 2: Capture a clean Source, then keep it
Restoration quality begins with the scan or photograph you feed in. A flat, well-lit capture of a scratched print will outrun a clever AI pass on a crooked phone snap every time.
For loose prints, a flatbed at 600 DPI in colour is a solid starting point. Save PNG or TIFF when you can, and keep an untouched backup outside the app. If you are importing a whole-bed scan on the web, review the crops and rotation before you save each photo to an album. Capture the reverse when there is handwriting: names and dates on the back are often the only surviving identification.
Whatever you upload becomes the Source. Nostalgia keeps that Source preserved. Later restores do not overwrite it. That is the archival habit in product form: the damaged original remains available as evidence, even after you accept a cleaner companion.
Step 3: Let the photo check read the photograph first
Before you spend a restore, let the photo check look at the file. The report is meant to slow you down in a useful way: what kind of damage is present, how strong the capture is, what the likely era is, and which next step is safest for this specific photo.
For most scratched or faded family photographs, the first recommendation is a careful restore pass, not face enhancement and not colour. Follow that order. Repair age damage first. Only then decide whether a face pass or optional colour would help the story without changing the person.
Step 4: Restore scratches and fading carefully
A good restore on a scratched or faded print usually does three quiet things: it reduces surface damage, recovers contrast that age has flattened, and leaves facial character alone. Judge the result the way a family historian would, not the way a social feed would.
Scratches that cross clothing or a background are usually the easiest cases. Scratches that cross a cheek or eyelid need more care, because the model has less truthful texture to lean on. Mild fading often responds beautifully. A print that has lost entire tonal ranges in one corner may improve at the edges and still leave a soft blank where the emulsion is gone. That blank is information. Filling it with invented detail is not repair.
- Compare the Source and the result side by side. Look first at eyes, mouth, hairline, and the shape of the face
- Ask whether the person is still recognisable to someone who knew them, not whether the image looks "newer"
- Accept a soft likeness that still looks like them over a crisp result that looks almost like them
- Stop when the damage is eased. Extra passes often invent detail the print never held
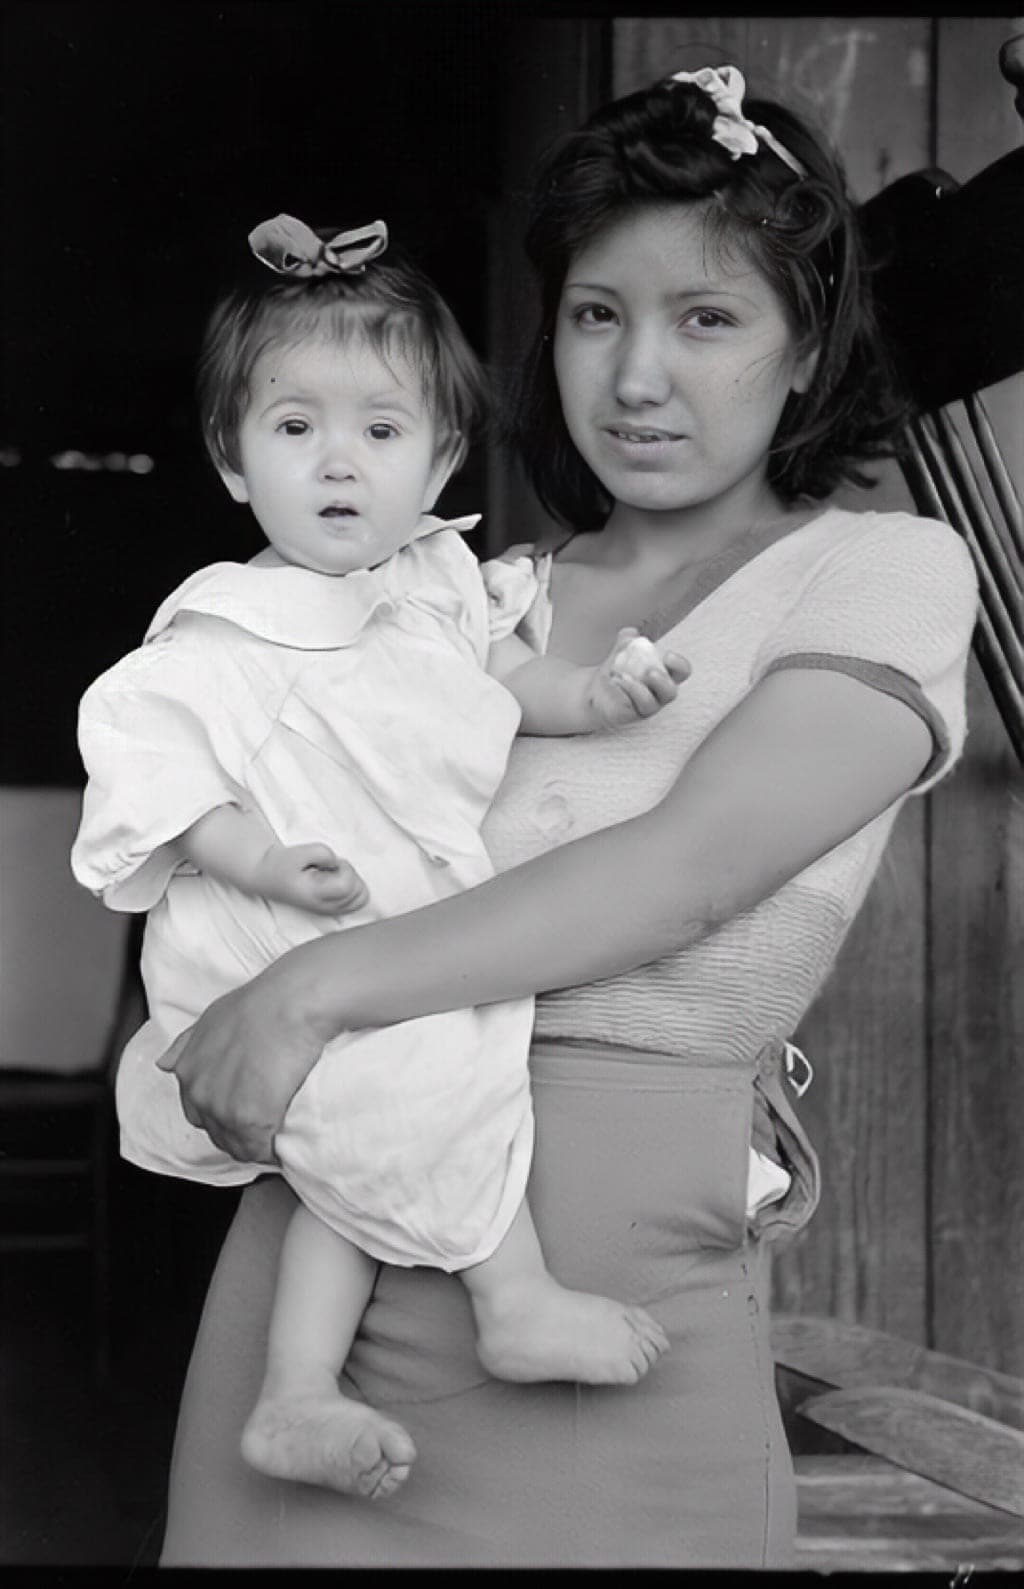
Step 5: Decide what "done" looks like for an archive
For genealogy work, done is not the most dramatic slider. Done is a photograph you can attach to a person on your tree without apologising for the face. Keep the Source. Keep the chosen restoration. Add the name, place, and date you trust while someone still remembers.
Colour can help storytelling, especially when a uniform, dress, or garden suddenly feels present. Treat colour as an interpretation sitting beside the faithful restore, not as a replacement for it. Many family historians keep black-and-white as the archival reference and colour as an optional companion Version.
If a result unsettles you, do not argue yourself into liking it. Keep the earlier version. The Likeness Pledge exists for exactly that moment: a cleaner image that no longer looks like the relative is not a success.
When you move on to the next print, use the same short checklist. Capture, Insight, one restore, likeness check, caption. The rhythm matters more than speed. A shoebox finished carefully over months is worth more than a folder of over-processed faces finished in a weekend.
What this approach will not do
Honest limits matter as much as the workflow. AI can repair many scratches and recover a great deal of faded contrast. It cannot recover a face that was torn away, invent handwriting that never existed, or prove the exact colour of a dress from 1912. Heavy glare that has wiped detail white may need a better physical capture more than another AI pass.
It also will not replace the human work of identification. A restored portrait still needs a name, a place, and a note about how you know. Write those while the relative who remembers is available. The restore makes the face easier to share. The caption is what turns the face into family history.
For a broader map of strengths and weak spots, read the sibling guide on what AI photo restoration can and cannot do. The longer archival workflow, from triage through Family Vaults, lives in the family historians guide to AI photo restoration.
Privacy while you restore damaged family photos
Family photographs are not generic training material. On Nostalgia, uploads and restored outputs are not used to train AI unless you separately opt in. That is the default on every plan. Photos are processed to deliver the restore or archive feature you asked for, and you keep ownership of Source versions and results.
Private by default also means sharing stays intentional. You can keep a restored print in your own archive, send a private link later, or invite relatives into a Family Vault when you are ready. Nothing needs to become public for the restore itself to work.
You can try one restore free on the homepage without creating an account. Use the Try it section, upload a scratched or faded print, and judge the likeness yourself before you decide whether to keep building an archive.
A practical next step
Start with one photograph that matters: a scratched portrait, a faded wedding print, or the only image of someone on your direct line. Capture it carefully. Read the photo check report. Run one restore. Compare it with the Source. If the person is still themselves, you have a method you can trust for the rest of the box.
When you are ready for the wider genealogy workflow (scanning fronts and backs, naming people, private sharing, and keeping your tree where it already lives), the family historians overview is the natural next page.
Related posts
 Guide
GuideScan the back of every print: the genealogy metadata most people throw away
When you digitise family prints, the reverse often holds the only names and dates. How to scan fronts and backs on your phone, and keep that handwriting with the photo.
 Guide
GuideThe Family Historian's Guide to AI Photo Restoration
If you're building a family archive alongside your tree on Ancestry or MyHeritage, here's how to use AI photo restoration without compromising archival integrity.
TipsWhat AI Photo Restoration Can (and Cannot) Do in 2026
An honest look at what AI restoration is great at, where it struggles, and how to get the best results from your old photos.