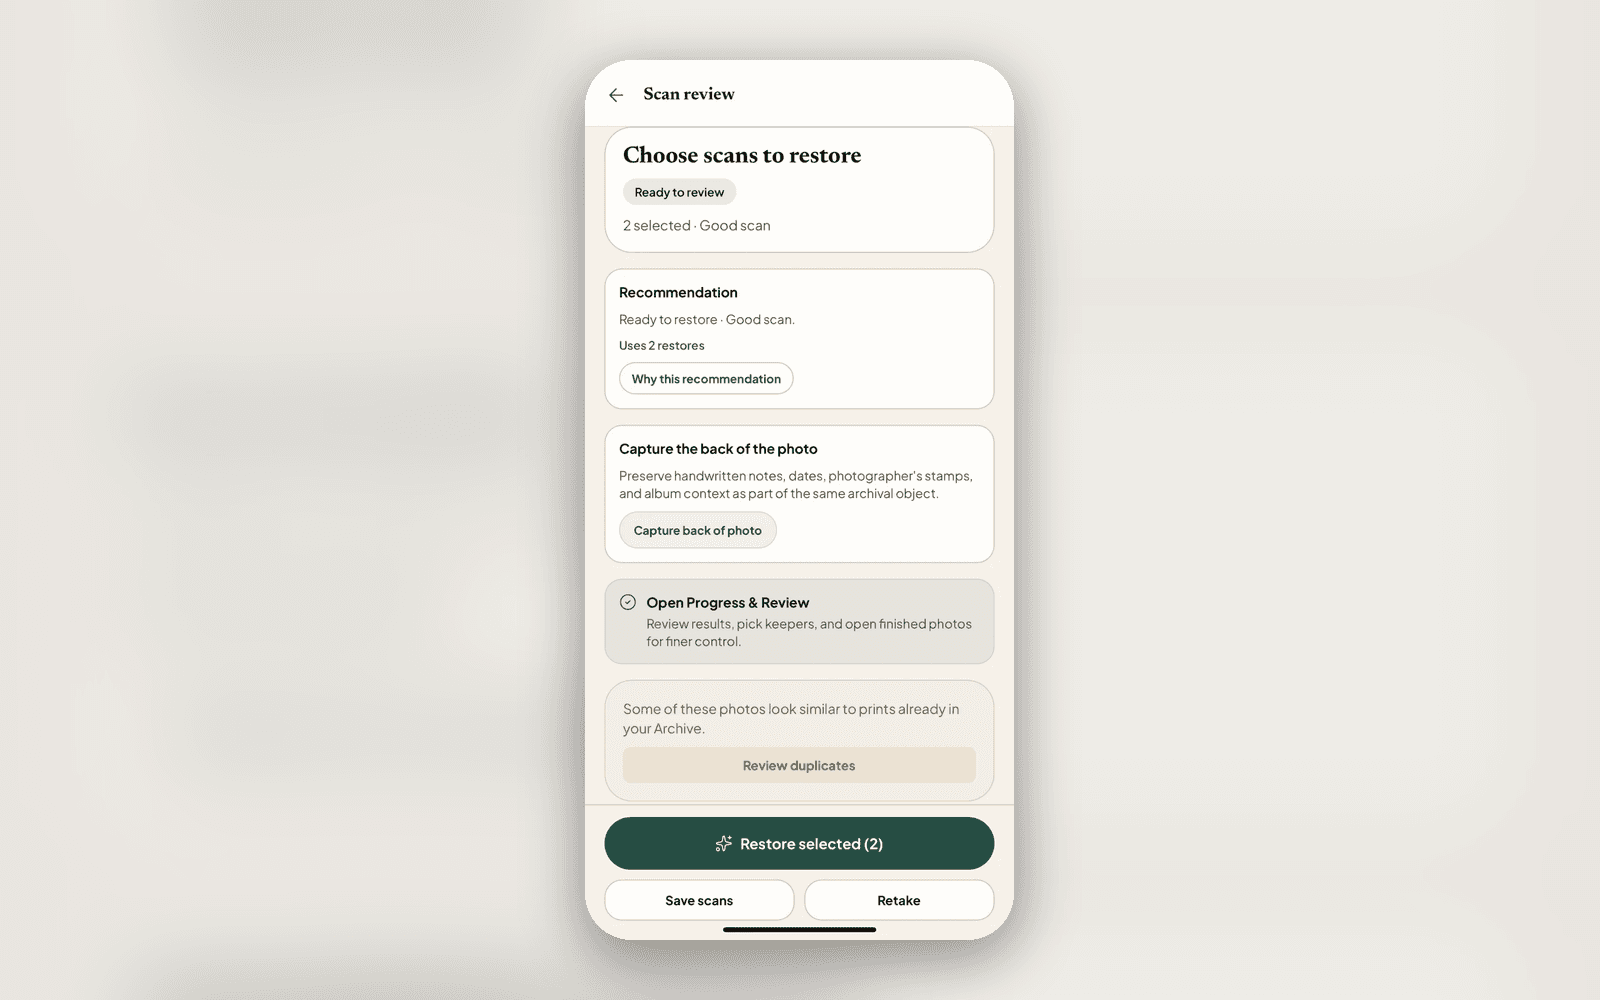
Choose a small first batch
Start with one album and a handful of photographs you want to preserve. You don’t need to sort the whole collection before you begin. A small batch will help you learn the process and choose a pace that suits you.
Scan and check the results
For loose prints, place 2–6 photos on a flatbed with gaps between them. Scan at 600 DPI in colour and save the full image as PNG or TIFF. Keep an untouched backup.
Upload the scan to Nostalgia’s Scan Station, choose an album, and check the crops and rotation before saving the separate photos. Use your scanner’s own software to operate the scanner.
If a photo is stuck in an album or fragile, leave it in place. A careful phone capture may be safer than removing it.
Make the next session easy
Give the album a name you’ll recognise. Choose Scan more for this album for your next batch. If you leave a crop review unfinished, wait for Saved online before closing it.
You can restore and organise the photos later. Saving a clear scan is a useful first step.
Try restoring one photo
Choose a representative photo and compare the result with your scan. Check faces, writing and borders. Keep the scan if the restoration changes something important.
Restore more when you’re happy with the result. Adding colour is optional; black-and-white and sepia photos can stay that way.
Review repeated scans
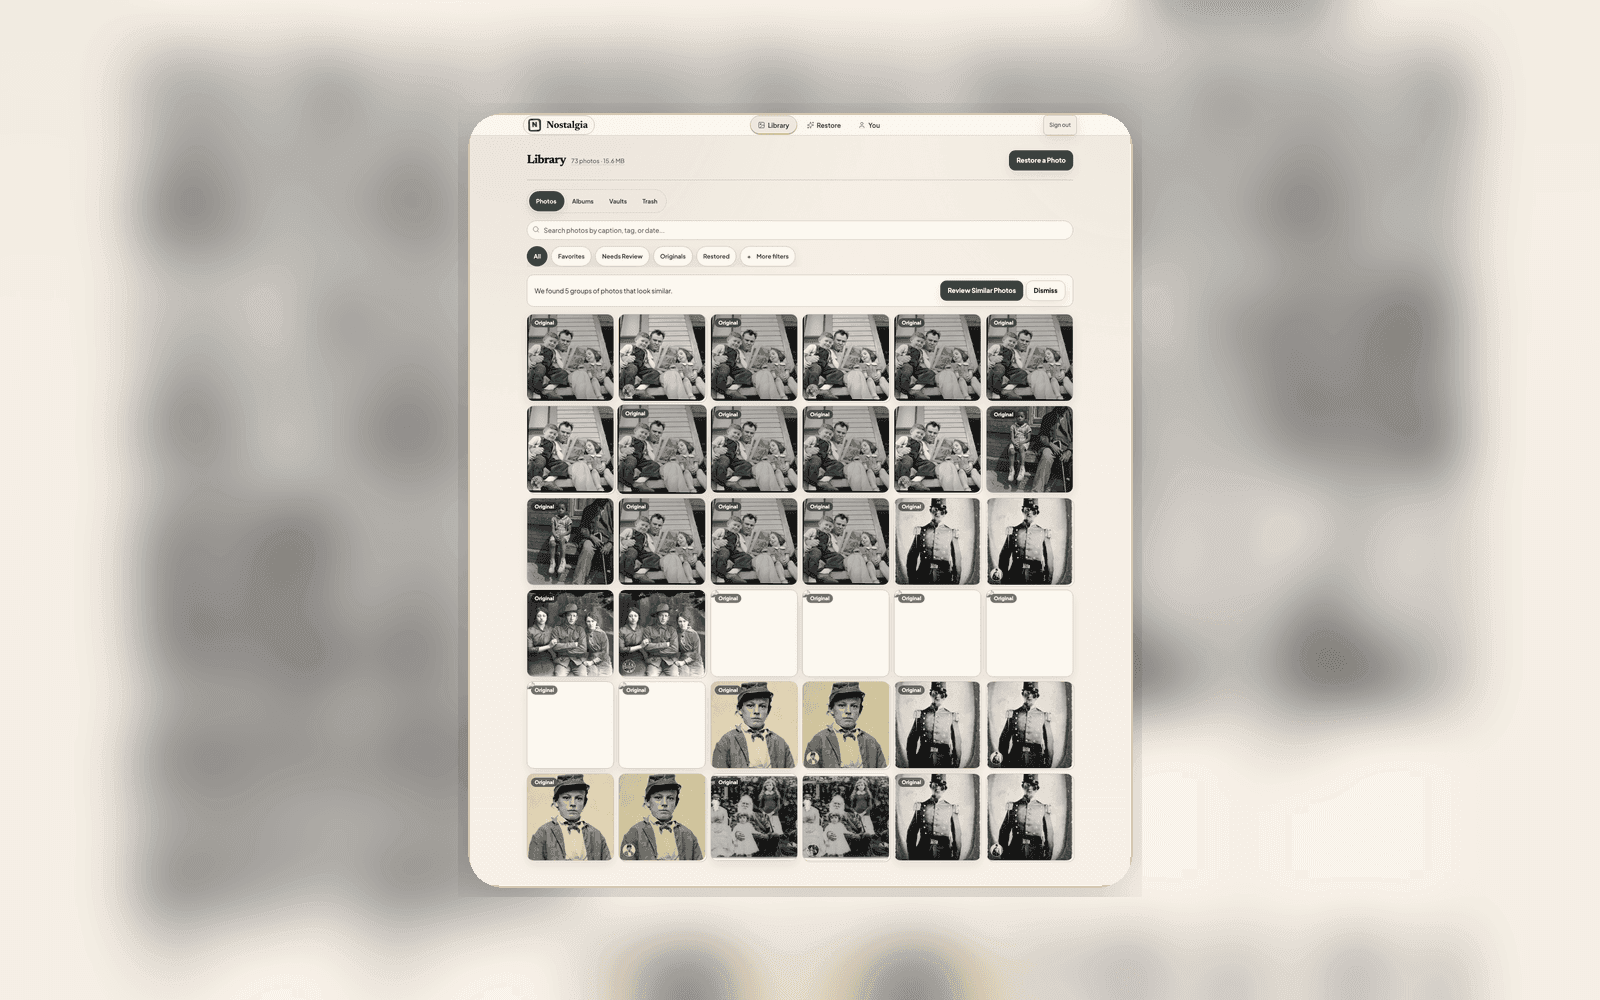
Similar Photos suggests possible duplicates. Check that they really show the same photograph before merging them.
In Versions, you can choose your preferred scan and restoration separately. Free up space on web previews unused versions before permanent deletion. Keep a backup of anything you may want later: deletion cannot be undone, and it can prevent undoing an affected merge.
Add the names and memories
Record people you recognise, a place and a known or approximate date. The scan date is usually not the date the picture was taken.
Photograph any writing on the back, give the files matching names, and copy the wording into notes. You’ll need to match front and back yourself.
Share a photo with relatives when you have a question. Their memories can help you fill in details while there is still someone to ask.
Related posts
 Tips
TipsHow to Find and Merge Duplicate Photos in Your Family Archive
Scanned the same physical photo twice? Nostalgia compares the captures, recommends which Photo record should represent the group, and leaves the merge to you.
GuideScanning your parents' albums on your next trip home
If your family's albums live in another country, the trip home is the moment. A simple plan for scanning your parents' old photos with your phone while you're in the room, and capturing the names while someone still knows them.